 Joomla is a popular open source CMS that allows to create from scratch professional websites for your business or personal use. Currently, the latest version released isJoomla 1.7.2, which we are going to make the tutorial on.
In this guide we will see how to install Joomla 1.7.x on a system running Ubuntu 11.10/11.04. Before we start, you need to install first an Apache web server (LAMP) on your system along with PHP and MySQL.
Getting Started
After installing LAMP, open the terminal and follow this sequence of instructions:
Adding Joomla To Apache
- Add a config file for Joomla in Apache with these commands:
cd /etc/apache2/
sudo cp sites-available/default sites-available/joomla
- Enable now the Joomla site with these commands:
sudo a2ensite joomla
sudo /etc/init.d/apache2 restart
Creating MySQL User & Database
- Sign in to your MySQL server with this command and submit your MySQL password you submitted during the installation of LAMP:
mysql -u root -p
- Create a database called joomla with this command:
create database joomla;
- Create now a MySQL user having also the name "joomla" with this command (replace"123" with any password of your choice):
CREATE USER 'joomla'@'localhost' IDENTIFIED BY '123';
- Grant this user all MySQL privileges with this command:
grant all privileges on joomla.* to joomla@localhost;
- Exit MySQL server:
exit
Downloading Joomla (v 1.7.2)
- Open the terminal and run these commands to download Joomla and move it to the /var/www/joomla folder:
wget joomlacode.org/gf/download/frsrelease/15900/68956/Joomla_1.7.2-Stable-Full_Package.zip
sudo mkdir joomla
sudo unzip Joomla_1.7.2-Stable-Full_Package.zip -d /var/www/joomla
- Assign ownership to the www-data user for Joomla files with this command:
sudo chown -R www-data.www-data /var/www/joomla/
Disabling Output_Buffering
The installation of Joomla requires to turn off output_buffering. Here is how to do this:
- You need to edit the "php.ini" file with this command:
sudo gedit /etc/php5/apache2/php.ini
- Search and replace:
output_buffering = 4096
To
output_buffering = off
- Save and close.
Installing Joomla
To start the installation of Joomla, open one of these two links:
http://127.0.0.1/joomla
or
http://localhost/joomla
Then follow the setup wizard. At the Database Configuration page, provide the MySQL settings we have already created:
* Username: joomla
* Password: the selected password
* Database Name: joomla

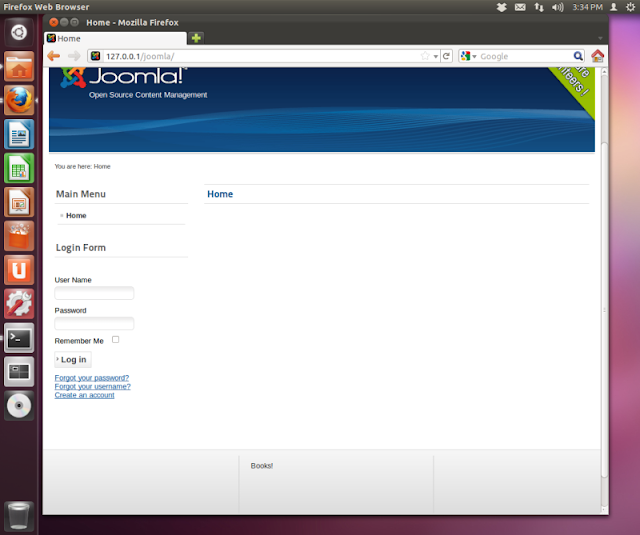
Complete the rest of the installation. Joomla is now installed on your system:
If you haven't removed the installation folder at the end of Joomla installation, then do with this command:
sudo rm -rf /var/www/joomla/installation
That's it!